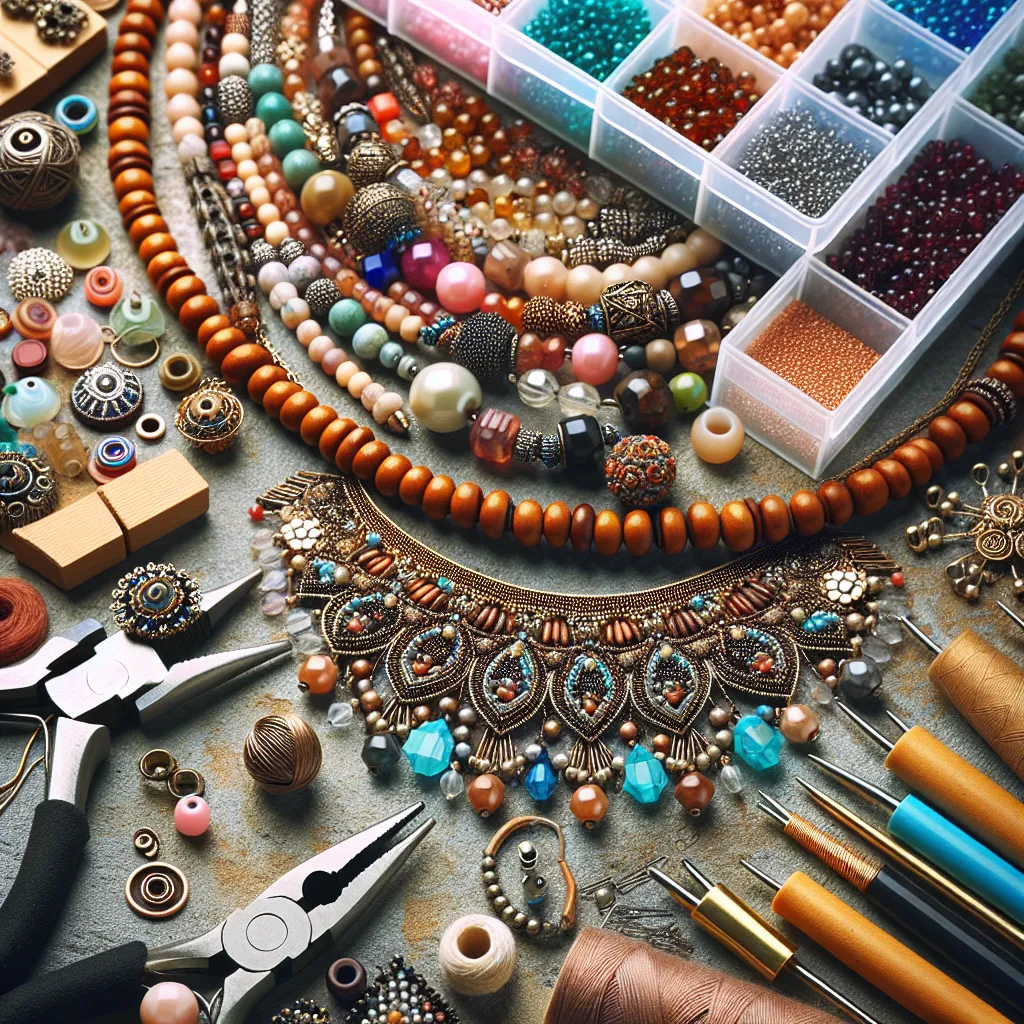
Essential Tools for Crafting Beautiful DIY Necklaces
To craft stunning DIY necklaces at home, it’s essential to have the right tools at your disposal. Whether you’re a beginner or an experienced crafter, having the essential tools will ensure that your creations turn out beautifully. Here are some must-have tools for crafting beautiful DIY necklaces:
1. Jewelry Pliers: A set of jewelry pliers, including round-nose, chain-nose, and flat-nose pliers, is indispensable for creating loops, bending wires, and opening/closing jump rings.
2. Wire Cutters: High-quality wire cutters are essential for cleanly cutting through various gauges of wire without deforming or damaging the ends.
3. Beading Mat: A beading mat provides a soft, non-slip surface to work on and prevents beads from rolling away. It also helps in organizing and sorting beads and components.
4. Beading Needles: Flexible beading needles enable you to easily thread beads onto stringing material, particularly for intricate beadwork and weaving techniques.
5. Crimping Tool: When working with beading wire, a crimping tool is essential for securing clasps and finishing off necklaces professionally.
6. Jewelry Glue: A high-quality jewelry glue comes in handy for securing knots, attaching cord ends, and adhering components to your necklace designs.
7. Design Board: A design board allows you to plan and layout your necklace designs, ensuring symmetry and balance in your creations.
By having these essential tools on hand, you’ll be well-equipped to embark on your DIY necklace-making journey and bring your creative visions to life. With the right tools and a dash of creativity, you can design and craft stunning necklaces that reflect your personal style and artistic flair.
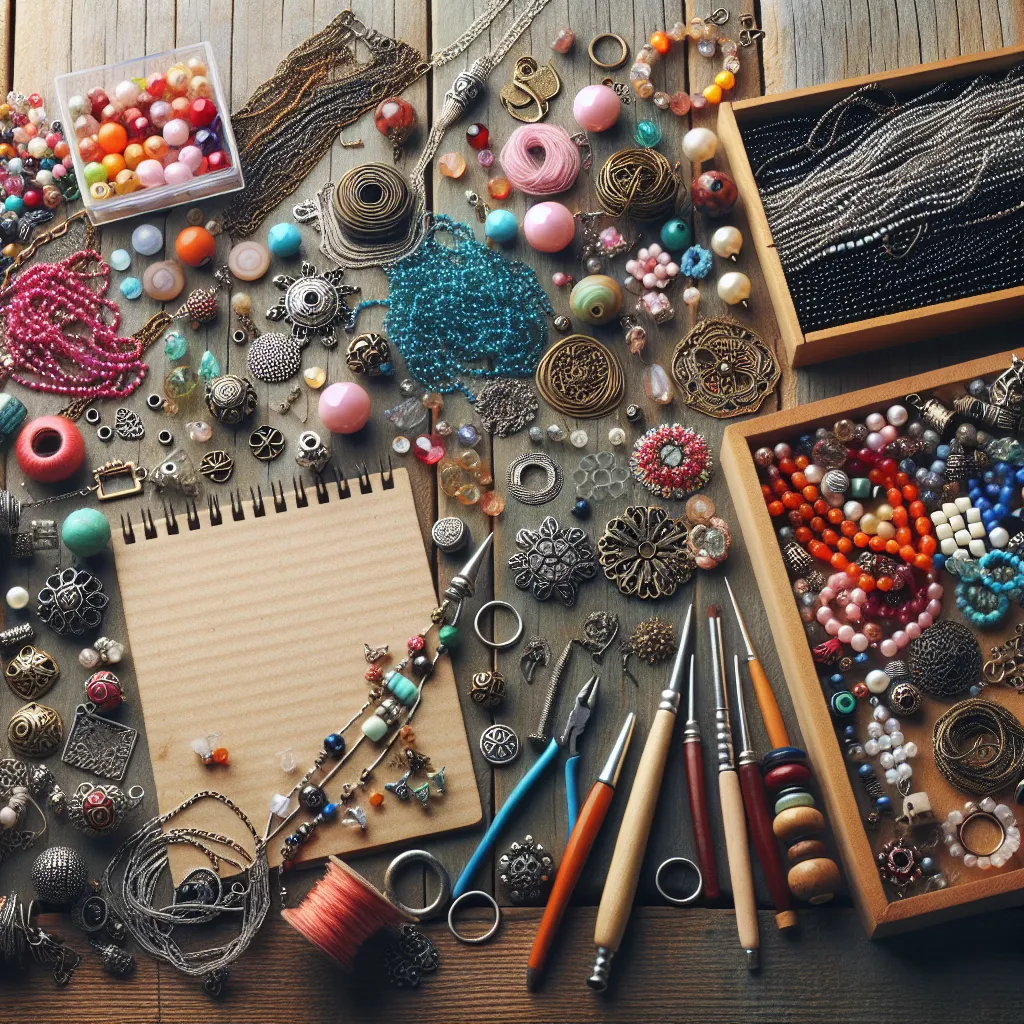
Step-by-Step Guide to Designing Unique Necklaces from Scratch
Sure! Here’s a sample article fragment focusing on the aspect of “Step-by-Step Guide to Designing Unique Necklaces from Scratch”:
Designing your own unique necklaces at home can be a fun and rewarding DIY project. By following a simple step-by-step guide, you can create stunning pieces that reflect your personal style and creativity.
Step 1: Gather Your Materials
The first step in creating a custom necklace is to gather all the necessary materials. This may include various beads, pendants, chains, and clasps. Consider the color scheme and overall design you want to achieve as you select your materials.
Step 2: Plan Your Design
Before diving into the assembly process, take some time to plan out your necklace design. Lay out your materials and experiment with different arrangements to find the most visually appealing combination. This is where your creativity can truly shine!
Step 3: Assemble the Necklace
Once you’ve settled on a design, it’s time to start assembling your necklace. Begin by stringing the beads or arranging the pendants according to your plan. Pay attention to the placement and spacing to ensure a balanced and cohesive look.
Step 4: Add the Finishing Touches
After the main elements of the necklace are in place, it’s time to add the finishing touches. Attach the clasp to the ends of the chain, and make any necessary adjustments to the length or arrangement of the components.
Step 5: Admire Your Handiwork
Once your DIY necklace is complete, take a moment to admire your handiwork. Revel in the satisfaction of creating a one-of-a-kind piece that reflects your personal style and creativity.
Designing your own unique necklaces from scratch allows you to express your individuality and create accessories that are truly one-of-a-kind. With a bit of creativity and patience, you can craft stunning necklaces that will be the envy of your friends and family.
This article fragment provides a step-by-step guide to designing unique necklaces from scratch and includes relevant keywords such as “DIY necklace,” “custom necklace,” “necklace design,” and “unique necklaces.”
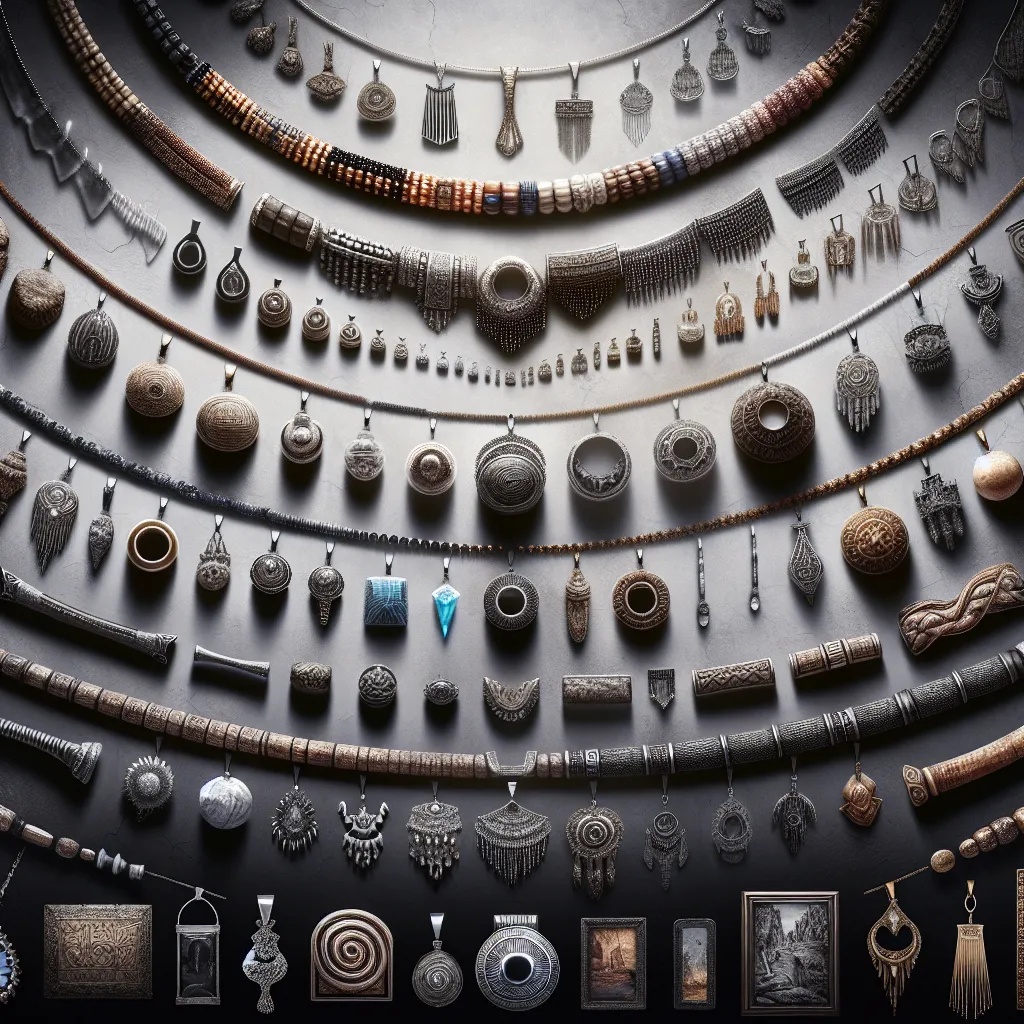
Innovative Materials for Creating One-of-a-Kind DIY Necklaces
When it comes to creating one-of-a-kind DIY necklaces, innovative materials can make all the difference. While traditional materials like beads and chains are classic choices, thinking outside the box can result in stunning and unique designs. One innovative material to consider is polymer clay, which allows for endless color and texture possibilities. With polymer clay, you can sculpt your own beads or pendants, creating custom pieces that reflect your personal style.
Another option is to incorporate unconventional items like resin, wood, or even fabric into your necklace designs. For example, resin can be used to encapsulate tiny flowers or colorful pigments, adding a touch of nature to your jewelry. Wood beads or pendants bring a natural and rustic element, while fabric scraps can be transformed into eye-catching fabric-covered beads.
Furthermore, don’t overlook the potential of upcycled or repurposed materials. Consider using old keys, watch parts, or even vintage buttons to add a unique and eclectic flair to your DIY necklaces. By embracing these unconventional materials, you can create statement pieces that are sure to spark conversations.
In conclusion, by exploring innovative materials such as polymer clay, resin, wood, fabric, and upcycled items, you can elevate your DIY necklace creations to a whole new level. Embracing these materials opens up endless possibilities for crafting stunning and personalized jewelry that truly stands out.
Expert Tips for Showcasing Your DIY Necklaces with Style
Creating your own stunning necklaces at home can be a rewarding and enjoyable DIY project. However, once you’ve crafted your beautiful necklaces, it’s important to showcase them with style to really make a statement. Here are some expert tips to help you display your DIY necklaces in a way that highlights their beauty and craftsmanship.
1. Choose the Right Display: When showcasing your DIY necklaces, it’s essential to choose a display that complements the style of your jewelry. Consider using a jewelry bust, a display case, or even a simple linen-covered board. The key is to highlight the uniqueness of your necklaces while keeping them tangle-free and easy to admire.
2. Lighting Matters: Proper lighting can make a world of difference when showcasing your DIY necklaces. Whether it’s natural light or strategically placed artificial lighting, make sure your necklaces are well-lit to accentuate their colors and details. Consider using soft, white light to create an inviting and elegant display.
3. Create Visual Interest: To draw attention to your DIY necklaces, consider adding visual interest to your display. This can be achieved by using props such as colorful fabric backdrops, decorative elements, or fresh flowers. Just be sure not to overshadow your necklaces—your display should enhance, not overpower.
4. Tell a Story: Every necklace has a story, and sharing that narrative can captivate your audience. Consider adding a small tag or card describing the inspiration behind the necklace, the materials used, or the significance of its design. This personal touch can make your DIY necklaces even more compelling.
By following these expert tips, you can showcase your DIY necklaces with style and creativity, ensuring that your beautiful creations get the attention they deserve.